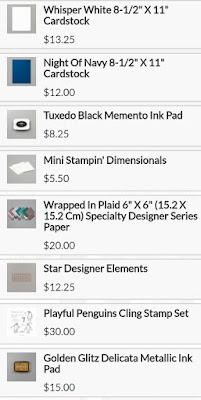
Supplies (click on the photo to add these items to your cart)

Thank you for stopping by! Click the Next button below to be taken to Libby's blog to see her wonderful project.
~ Amanda

3. Libby Dyson
4. Tricia
Butts
5. June
Olsen
6. Amanda
Bates
10. Marieke Bart

We would love for you to join us for our next all-day crop on Saturday
November 23rd in support of Lily's Place Shelter. Register before November 7th by clicking here