Showing posts with label Crafty Collaborations

Welcome! For April's Stampin' Dreams blog hop we are celebrating mothers with our projects. A perfect reason to create some Mother's Day cards.
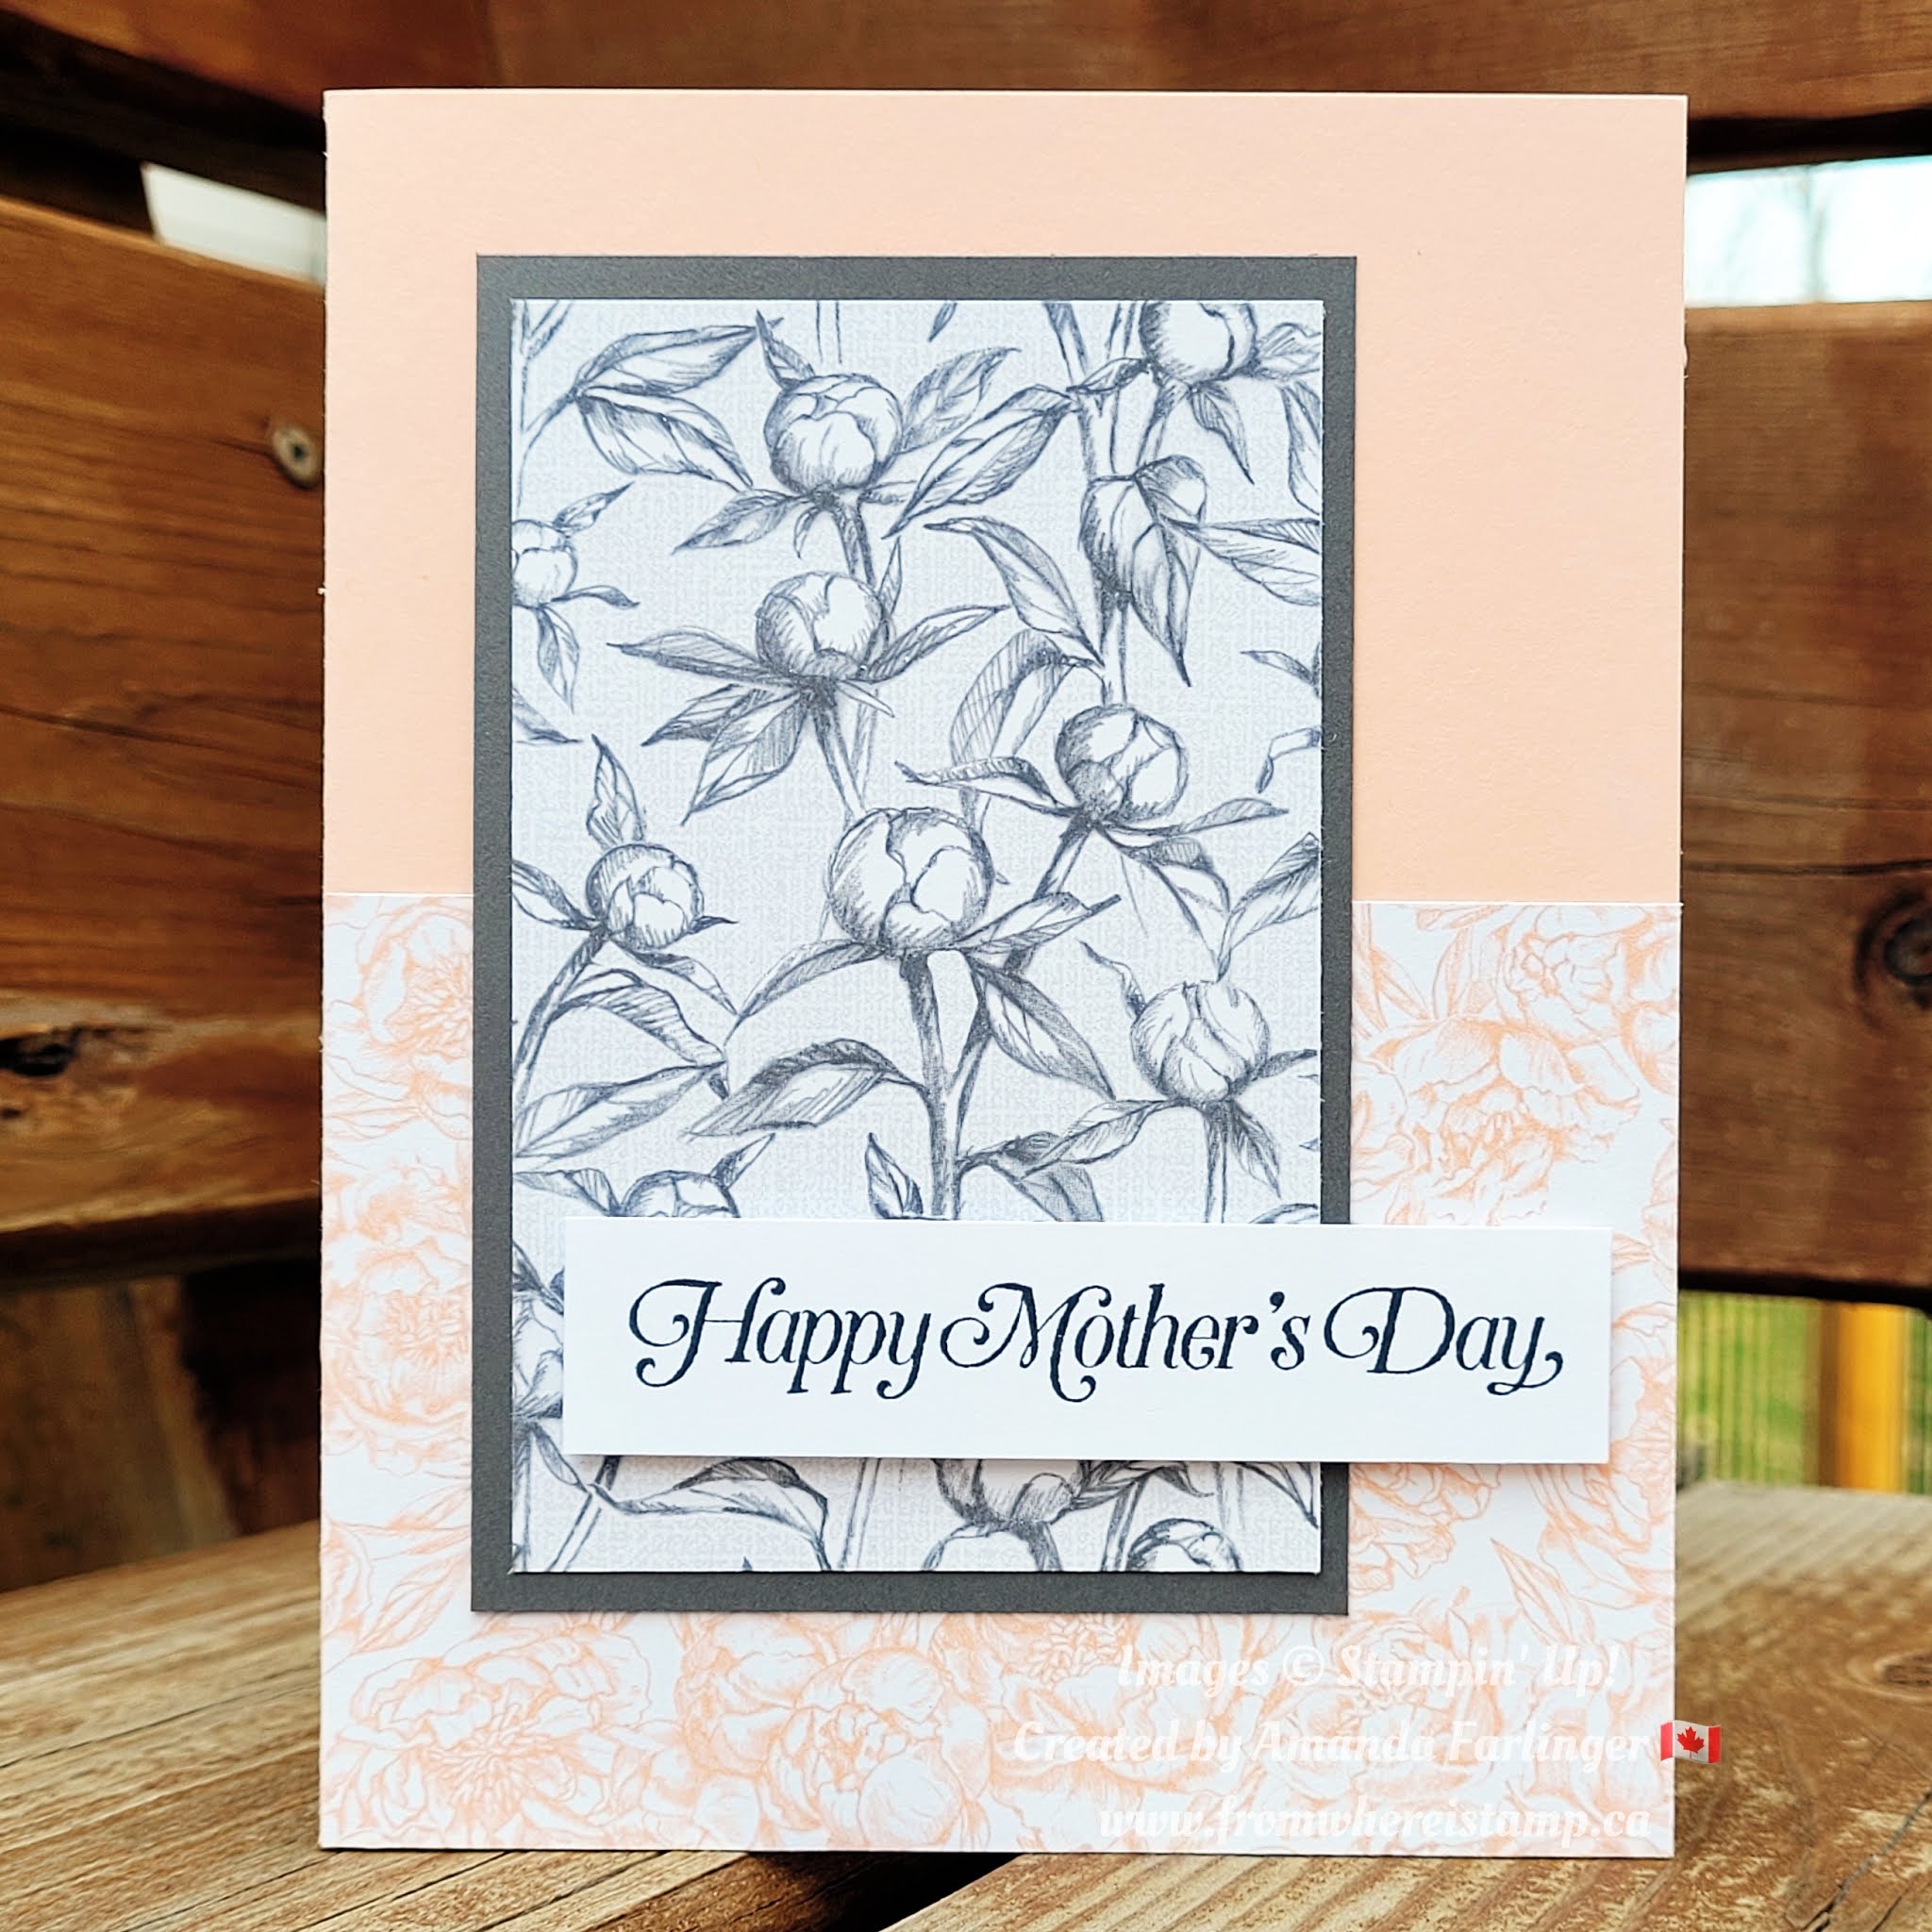
Using the retiring Peony Garden designer series paper made it easy to create these very elegant cards. This pack of paper uses Petal Pink, Smoky Slate, Basic Gray and Basic White along with flower and pattern designs.
Adding a sentiment from a stamp set that has a variety of sentiments, like the Happy Mother's Day image from the retiring Strong & Beautiful stamp set, gives you the option of creating cards for many different occasions.

Each week on Thursdays I will share a video on how to create a project. This video will be available on my YouTube channel and shared on Thursday's blog post with more details about that project. See today's video below or you can watch it on my YouTube channel:

Stop by and say hello to the other blog hop participants listed below:
Product List

Thank you for stopping by! ~ Amanda

So Cool by Paper Pumpkin is the fresh, versatile, and fun taste of summer that stampers of all ages will want to savor. What makes the April Paper Pumpkin kit So Cool? This vivid, summer-inspired kit includes two full sticker sheets and all supplies needed to make 12 fun-shaped cards with matching envelopes. But, even more cool: it’s the first Paper Pumpkin kit designed with kids in mind! 🥝 🍓 🍉 Subscribe for April's kit by Apr 10th by visiting this link https://www.paperpumpkin.com/en-ca/sign-up/?demoid=2157916
If you love great deals, our Last-Chance Products Sale is the perfect time to shop. You’ll get deep discounts on your favorite products from the 2020–2021 Annual Catalog. Many items will sell out fast, so don’t delay. Some items have sold out. See all the deals here: https://www.stampinup.ca/categories/sales-specials/last-chance-products-sale?dbwsdemoid=2157916


Hello and welcome to Technique Tuesday! We are sharing Stamparatus techniques with you so make sure to hop around to be inspired and learn.
My number 1 reason for loving the Stamparatus is how easy it is to position stamps, especially when working with a two-step stamp set like the retiring Hide Tide stamp set. You can see from the image below there are two stamps for the lighthouse. The first main image was stamped using Basic Gray ink then the second image was stamped over the first using Misty Moonlight ink.
Did you notice the word Shine was a different colour than the other stamped words on the card? The text is all one stamp but stamped two times. Once you have the stamp on one of the plates use sticky notes to cover up the Shine image then ink up the other words, stamp and clean the image while leaving the stamp on the plate. Then using sticky notes again but on all the other words, ink up the word Shine in a different colour, stamp and now you'll have a perfectly positioned two toned image. See below for an image for reference:

So Cool by Paper Pumpkin is the fresh, versatile, and fun taste of summer that stampers of all ages will want to savor. What makes the April Paper Pumpkin kit So Cool? This vivid, summer-inspired kit includes two full sticker sheets and all supplies needed to make 12 fun-shaped cards with matching envelopes. But, even more cool: it’s the first Paper Pumpkin kit designed with kids in mind! 🥝 🍓 🍉 Subscribe for April's kit by Apr 10th by visiting this link https://www.paperpumpkin.com/en-ca/sign-up/?demoid=2157916
If you love great deals, our Last-Chance Products Sale is the perfect time to shop. You’ll get deep discounts on your favorite products from the 2020–2021 Annual Catalog. Many items will sell out fast, so don’t delay. Some items have sold out. See all the deals here: https://www.stampinup.ca/categories/sales-specials/last-chance-products-sale?dbwsdemoid=2157916

March's Paper Pumpkin kit - Here's To You - included a free stencil set. Also included is a sponge so you could sponge ink onto your project, but I decided to use the Shimmery White Embossing Paste with the star stencil to create a sparkling night sky. Tip: Clean up the embossing paste right away - your stencil, the palette knife and anywhere the paste may have gotten onto. It is very hard to clean up once it dries.
© From Where I Stamp by Amanda Farlinger · THEME BY WATDESIGNEXPRESS