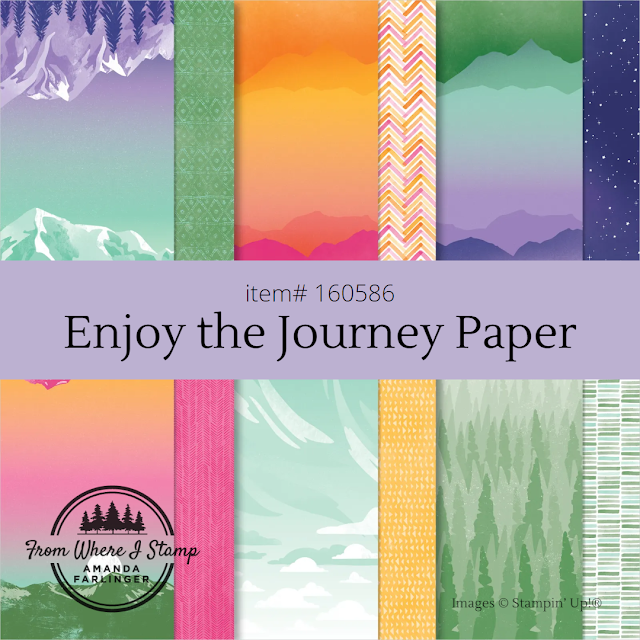
A few years ago we bought a fire pit for our backyard. A pretty round stone one with a wire dome. It's so fun to sit around the fire, put sticks in, poke the fire back up to flames and see how long some of the logs last. When I saw the pretty star design in the Enjoy the Journey designer series paper (DSP) I remembered sitting around the fire in September with my head titled back looking up at the stars! Starting with pretty DSP is an easy way to start creating your scrapbook layout. You can pull colours from the list on the pack and I've used the coordinating Greatest Journey stamp set to add accents to my layout.
Adding a punched or die-cut image that ties into your theme is a great way to fill some of the space. Here I've stamped the trees from the Greatest Journey stamp set with Garden Green ink onto Basic White cardstock. Then it's punched out using the Label Me Lovely punch. Sprinkled around the layout are Elegant Faceted Gems (the clear and sparkly ones) and on the right side of the layout I added one of the
I do have photos to put on this layout, they aren't printed yet. But I have them added to my list of photos to order very soon! It's amazing to me that my phone can take some awesome night photos. Of course it needs to be set to night mode and you need to be fairly still. Tip: I find tucking my arms in to my side or putting my elbows on the arm rest help with steadiness when taking night photos.
Here's one of the photos I'll get printed. It's been lightened up a bit and I hope it prints well because I love how it turned out! You can see the stars fairly bright and the smoke even showed up on the left side of the photo. We live in a subdivision and back onto a park that has a ridge the trees are on. The trees and smoke are brighter because of the light posts in the park.
The trees design is from the same pack of DSP. The design goes from darker trees to lighter trees so I decided to use the darker trees from the bottom to represent the trees in the park behind our house. Tip: Make sure to look at what way the paper needs to be cut to fit on your layout before cutting! The layout wouldn't look the same if the trees were going horizontally instead. The title on this page is simple and involves a technique. The stamp says "you belong among the stars" but I covered up everything but the word stars with a sticky note before adding Starry Sky ink then stamping onto Highland Heather cardstock.
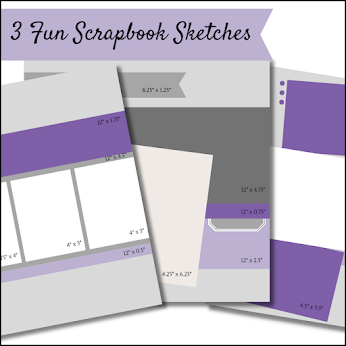
You can find this layout with dimensions in my 3 Fun Scrapbooking Sketches. To receive the sketches sign up by clicking here or the image above to sign up to receive emails from me. Included with the sketches are directions, links to sample projects for more inspiration and alternative ideas for you to try! Whether you are new to scrapbooking or are a seasoned stamper these sketches will help you create your next layout.
Can you spy the two designs I used on my layout? This designer series paper is gorgeous. You can use it along with other products found in the Enjoy the Journey Suite or pair it with another outdoorsy stamp set. As someone who loves purple I'm really loving those designs. The designs with pink in them might be a little harder for me to use.


Add your comment
Thank you for stopping by today! If you see something you like leave me a comment.